How to test a used MacBook: step-by-step checklist (with pictures)
A used MacBook can be an excellent buy, but only if it is genuine, unlocked and healthy. Follow these steps in order. You do not need any extra software: everything is built into macOS. The whole check takes about 15 minutes.
Step 1: Check the model and specifications
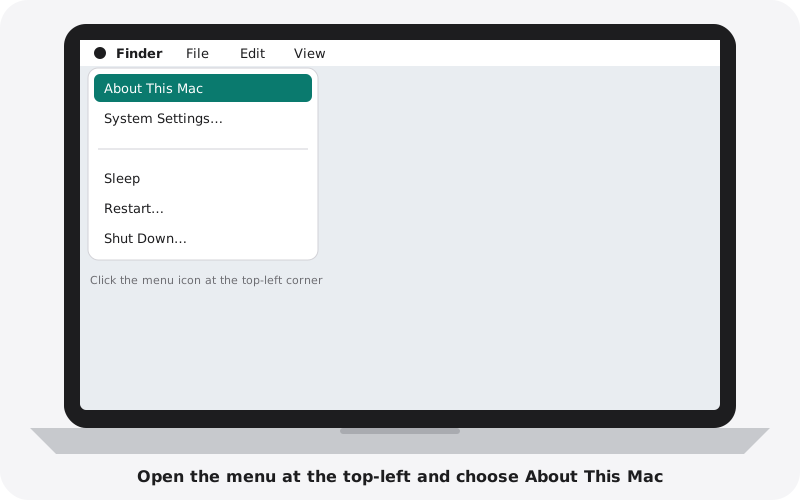
- Click the menu icon in the top-left corner of the screen.
- Choose About This Mac.
- Compare the chip (for example Apple M1 or M2), the memory and the serial number with what the listing says.
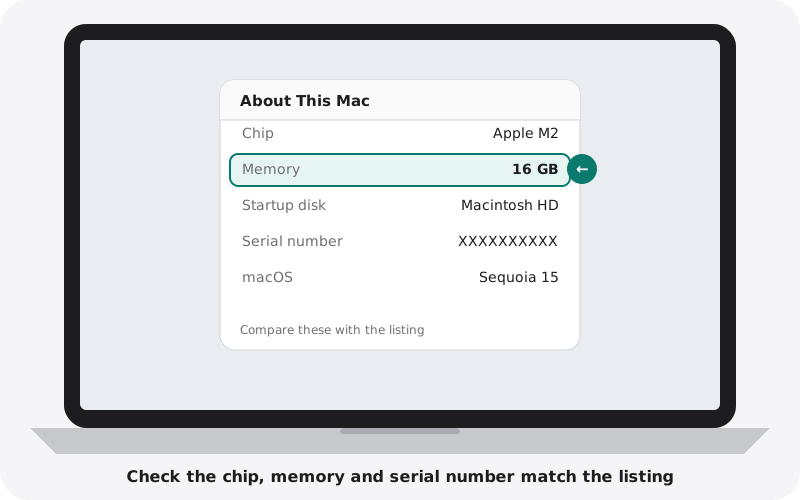
To check the storage size, open System Settings, then General, then Storage.
Step 2: Check battery health
- Open System Settings and click Battery.
- Next to Battery Health, click the small info button.
- Read the Maximum Capacity figure.
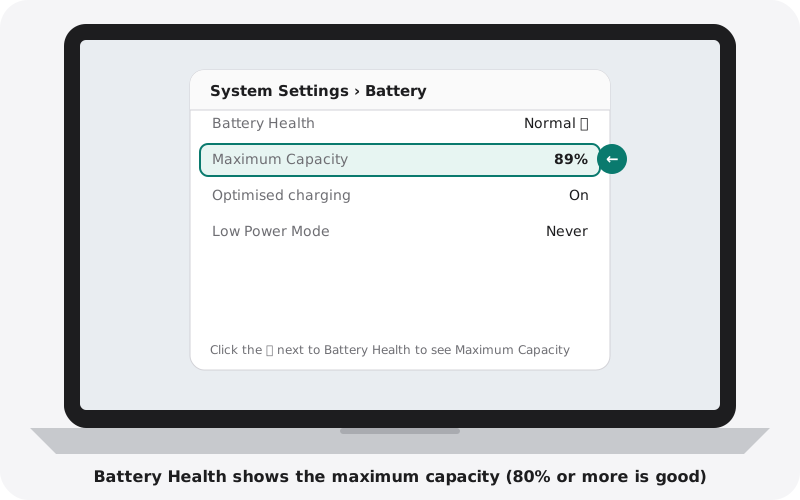
- 80% or more: healthy, normal for a used laptop.
- Below 80%: the battery will not last as long and may show Service Recommended.
Step 3: Check the battery cycle count
- Hold the Option key and click the menu icon in the top-left corner.
- Choose System Information.
- In the left column, click Power. Look at Cycle Count and Condition.
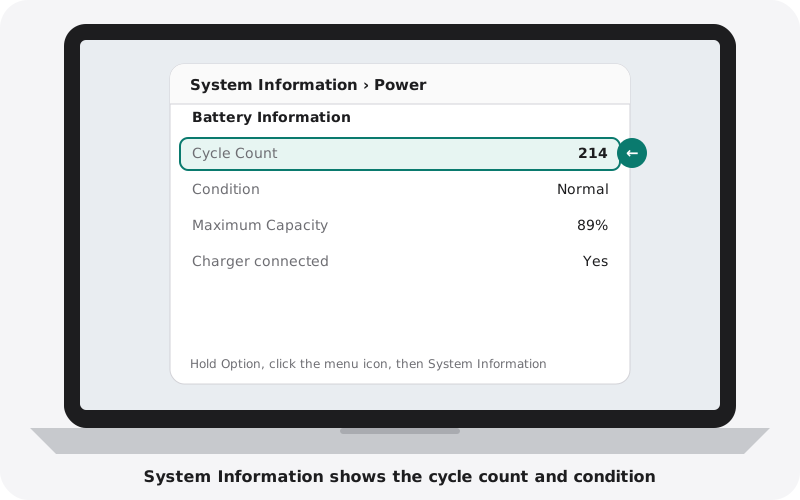
Modern MacBook batteries are designed for about 1,000 cycles. A count of a few hundred is normal for a used MacBook. Condition should say Normal.
Step 4: Make sure Activation Lock is off
This is the most important step. A MacBook with Activation Lock on is tied to someone else's Apple Account and cannot be fully used after a reset.
- Open System Information again (hold Option, click the menu icon, choose System Information).
- Click Hardware at the top of the left column.
- Find Activation Lock Status. It must say Disabled.
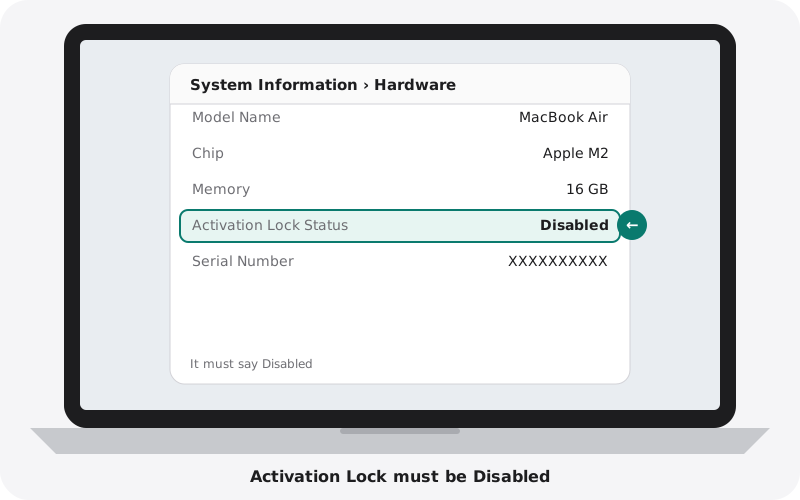
If it says Enabled, ask the seller to sign out of their Apple Account and turn off Find My while you watch. If they cannot, do not buy it.
Step 5: Check that no company controls it
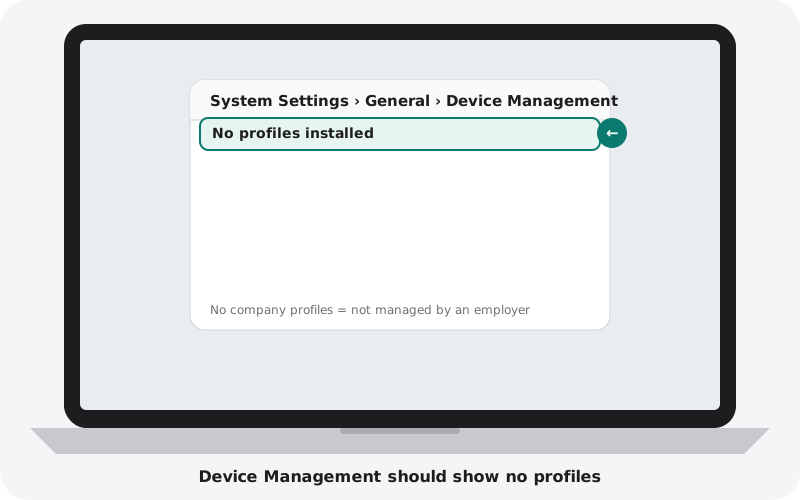
Some MacBooks belonged to companies and are still managed by them. A managed Mac can be locked or wiped remotely.
- Open System Settings, then General.
- Scroll down to Device Management (on older versions, look for Profiles).
- It should show no profiles.
Step 6: Run Apple Diagnostics
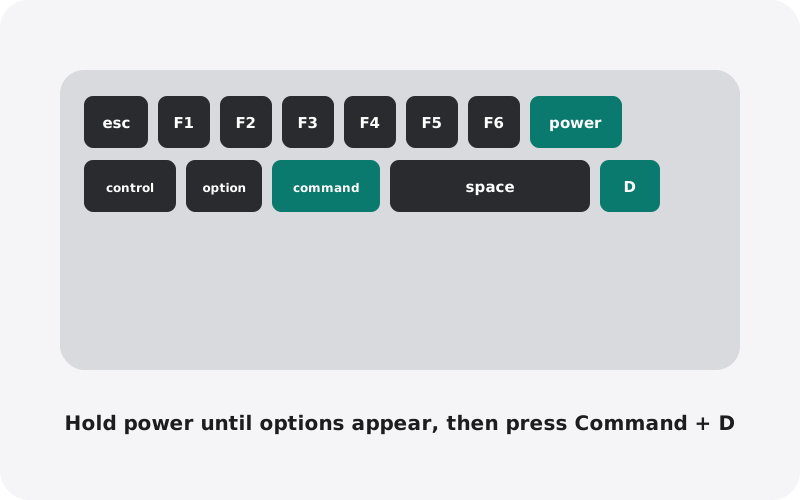
Apple Diagnostics checks the hardware for faults. Save your work first, then:
- Shut down the Mac.
- On a Mac with Apple silicon (M1 or newer): press and hold the power button until the startup options appear, then press Command and D together.
- On an older Intel Mac: press the power button, then immediately press and hold the D key until a progress bar appears.
- Wait a few minutes for the result.
No issues found is what you want. If you get a reference code, write it down and ask the seller about it.
Step 7: Test the screen
Open a plain white image and a plain black image in full screen, at full brightness. Then try red and green.
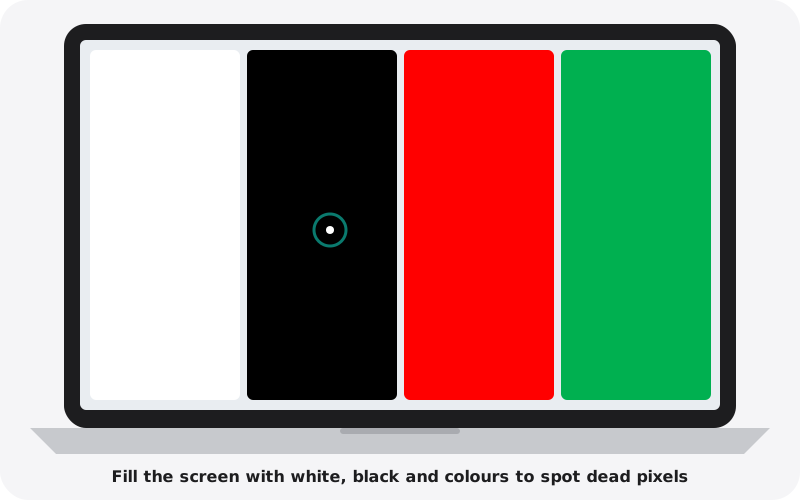
- Look for dead or stuck pixels (tiny dots that stay one colour).
- Look for patchy marks or worn coating on the glass, bright spots and lines.
- Open and close the lid slowly: the picture should not flicker.
Step 8: Test the keyboard and trackpad
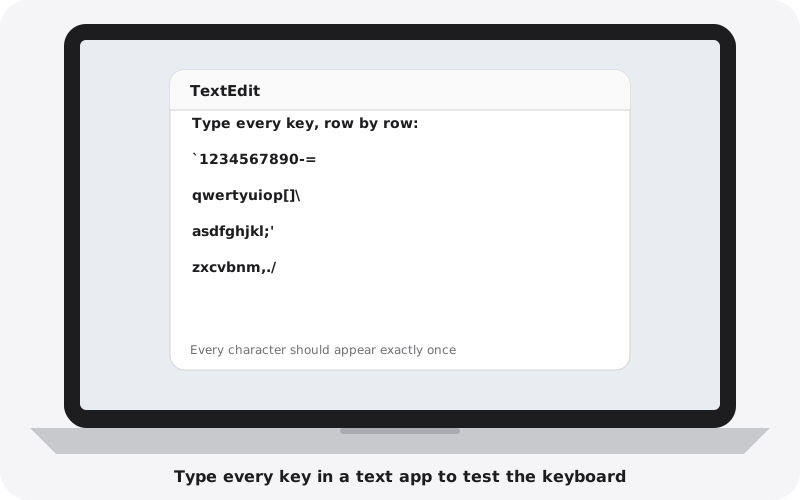
- Open TextEdit (search for it with Command and Space).
- Type every key, row by row, including numbers and symbols.
- Check that each character appears once, and that no key sticks or repeats.
Press the trackpad in each corner. It should click everywhere (or give a click feel everywhere on newer models). Try two-finger scrolling. Turn the keyboard backlight up and down.
Step 9: Test the camera, microphone and speakers
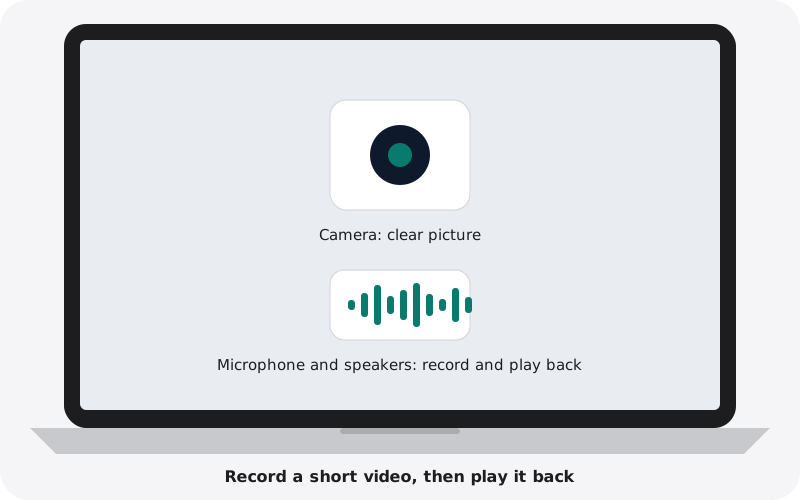
- Open Photo Booth and check the camera picture is clear.
- Record a short video while talking, then play it back.
- Play music at full volume: listen for crackling or rattling.
Step 10: Test every port and the charger
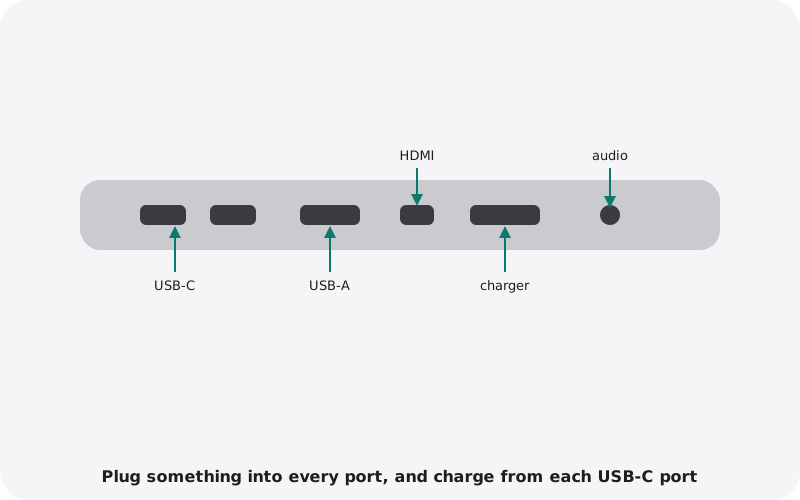
Charge from every USB-C (Thunderbolt) port, and from MagSafe if it has it. Plug a USB device or phone into each port. Try headphones in the headphone jack.
Step 11: Wi-Fi, Bluetooth and a final look
Connect to Wi-Fi and open a website. Turn on Bluetooth and pair your phone or headphones. Finally check the hinge holds the screen steady, the case has no cracks or swelling, and the laptop sits flat on the table.
Quick checklist
- Specs and serial number match the listing
- Battery Maximum Capacity 80% or more, Condition Normal
- Activation Lock: Disabled
- No Device Management profiles
- Apple Diagnostics: no issues found
- Screen, keyboard, trackpad, camera, speakers and ports all work
Buying from nexlap
Every MacBook we sell has already been through these checks: Activation Lock off, no management profiles, battery health shown on the listing, plus a warranty. Browse used MacBooks or read our battery health guide.